Categories
December 2020

Day 17 – GTF Achilles Pt III

12/14/2020 – I think the rhythm this blog will fall into is likely two updates per week in general as a minimum.

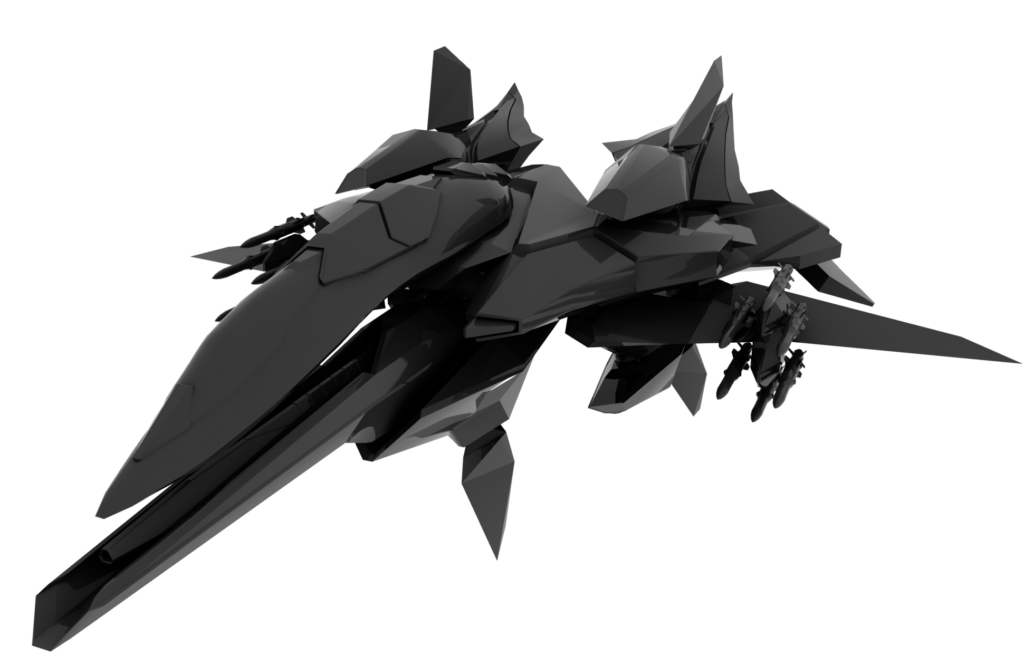
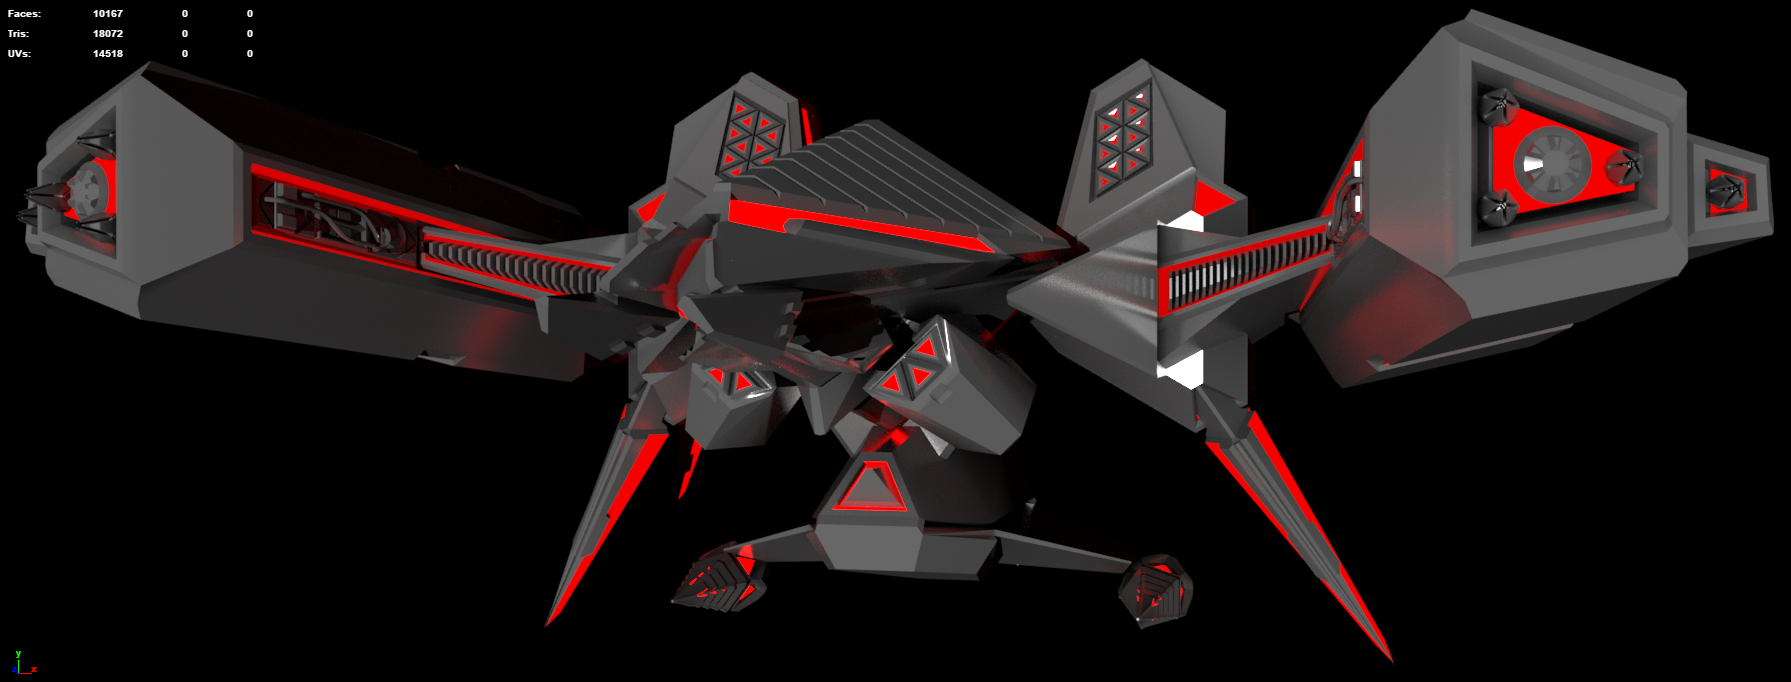
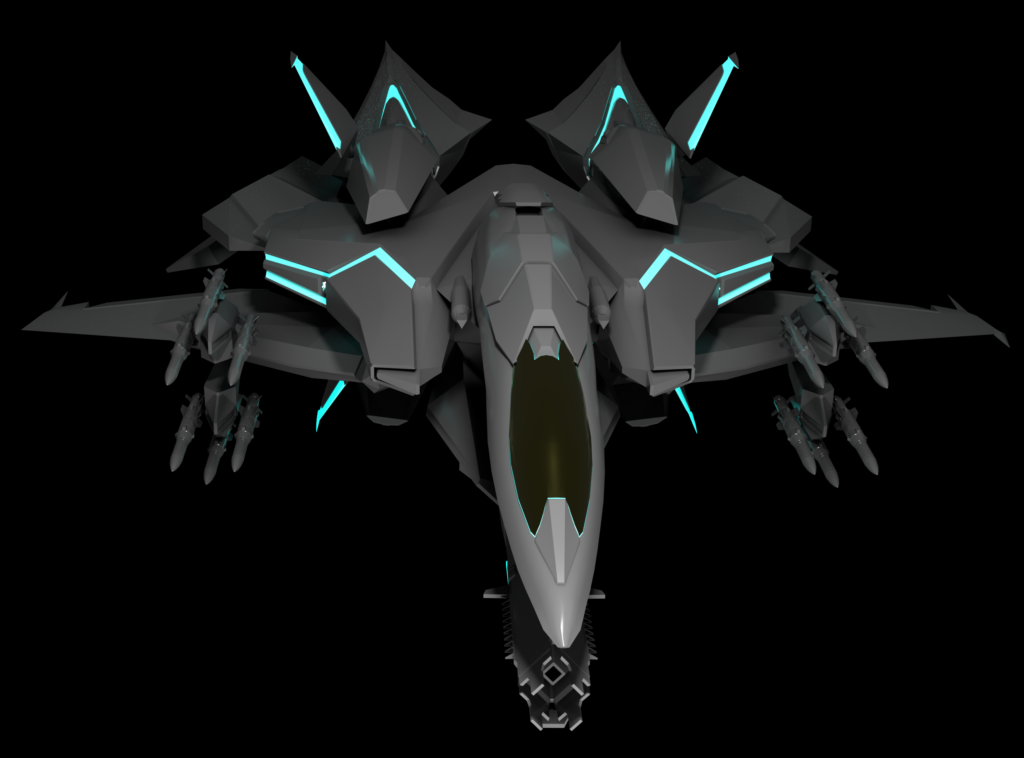
The focus has remained on the Freespace fighter, the GTF Achilles. With heavy inspiration from Tron: Legacy and of course Macross, the thing is taking shape. Last time I showed off some nice, Tron style emissive textures on some engine modules. I’ve since gotten those a bit further along, as well as extended that styling to the main body and ventral fin. Challenges remain in integrating the whole lower main body assembly with the heavy gunpod into the ship, and of course animating it within the Freespace engine will be an adventure. Maya’s built in keyframing makes exploring animation of the winglets and the wings extremely easy, which is nice. Currently the canopy also can be retracted, though the canopy mesh in particular is a monster which needs heavy cleanup.

Click the image to see the model in p3d format and spin it around for yourself! This link will let you see the render in full resolution.

Categories
Uncategorized

Day 16 – GTF Achilles Pt II

12/11/2020: By the end of this week I’ve worked a fair bit on this fighter – a mix of working on materials and doing sketches to try to figure out how I want to complete the model. There will be viewable 3d models on p3d in the next update, but for now have this 4k render of the work I’ve been doing on the engines and winglets. The aim is to mix up Tron Legacy and Macross aesthetics. You be the judge if it has worked out:

Categories
December 2020

Day 15 – GTF Achilles Pt I

12/07/2020 – Today we’ll start with a bit of relatively dry opining, then transition into the cool p3d link. So, the previous Shivan fighter, the SF Shahraba, made some stir in the Freespace community and I got to talking with other modelers there. One of them actually volunteered to texture the Sharabha. This was part of why I spent over a week unwrapping the thing, and led to a number of important discussions about workflow – Maya has a built in utility for packing UV shells on the sheet which will also automatically put them all on a consistent scale. Unlike some of the other Maya UV utilities, this one will not undo any manual work you’ve done stitching things together. A great example of this is the giant glowing vent on the SF Sharabha, which I manually projected from an angle where everything could be flat on the sheet without any overlaps or distortions. So in addition to the lessons from last time (UV finalized details early, always be saving, etc), the first step should be identifying troublesome regions and stitching them together, then using the automatic packing utility, then stacking similar shells as needed.

On to the cool p3d link! The SF Sharabha is meant to fit into the Freespace universe and is an antagonist. So what better to make than a protagonist fighter to oppose it? Enter the GTF Achilles. This ship is more than a little inspired by the VF-2 from Macross II, but a fair bit of its shapes are inspired by other Freespace units. Click the render below to be taken to a p3d link of the model as it stands right now! It’s still a WIP but is making rapid progress:

Categories
Complete Projects December 2020

Day 14 – SF Sharabha unwrapped

12/02/2020 – I’ve gotten the Shivan fighter, the “Sharabha”, to a spot where I’m pretty darn pleased with it. Click the link below to view a p3d of the ship.

The big task that consumed much of the last two weeks was a lot of learning the old fashioned way, by making lots of mistakes. I’ve always wanted to combine my models down to a single mesh – as if I was going to 3d print it. This was an opportunity to learn a whole lot about Maya in a big hurry. I had to spend a fair amount of time going back through my incremental saves to rebuild parts of the geometry as the unwrapping had gotten too complicated where the components had intersected one another. A key part of unwrapping is trying to group like components so that the same texture can be painted onto all of them – but I’d made it much harder for myself.

The next big task was shaking the rust off of my UVing skills and tactics. Maya has a number of useful tools for this but its tendancy to remember the full history of what has been done to an object meant that I’d bring my computer to a halt by having it remember 40 hours of continuous UV work. Regularly deleting history is important.

Crashes also claimed more than their fair share of my time, so a summary of lessons learned:

  • Do not boolean any meshes together unless necessary
  • When sub meshes are complete (gun muzzles, wings, aerials, small repeating details) they should be unwrapped. Then they can be duplicated at will across the mesh without disturbing any of the unwrapping
  • If lights are going to be baked into the textures, then any of these sub meshes are going to be affected by the lighting need to have their own dedicated unwrapping. Imagine a row of identical houses, some in the shadow of a mountain and some not.
  • Always Be Saving

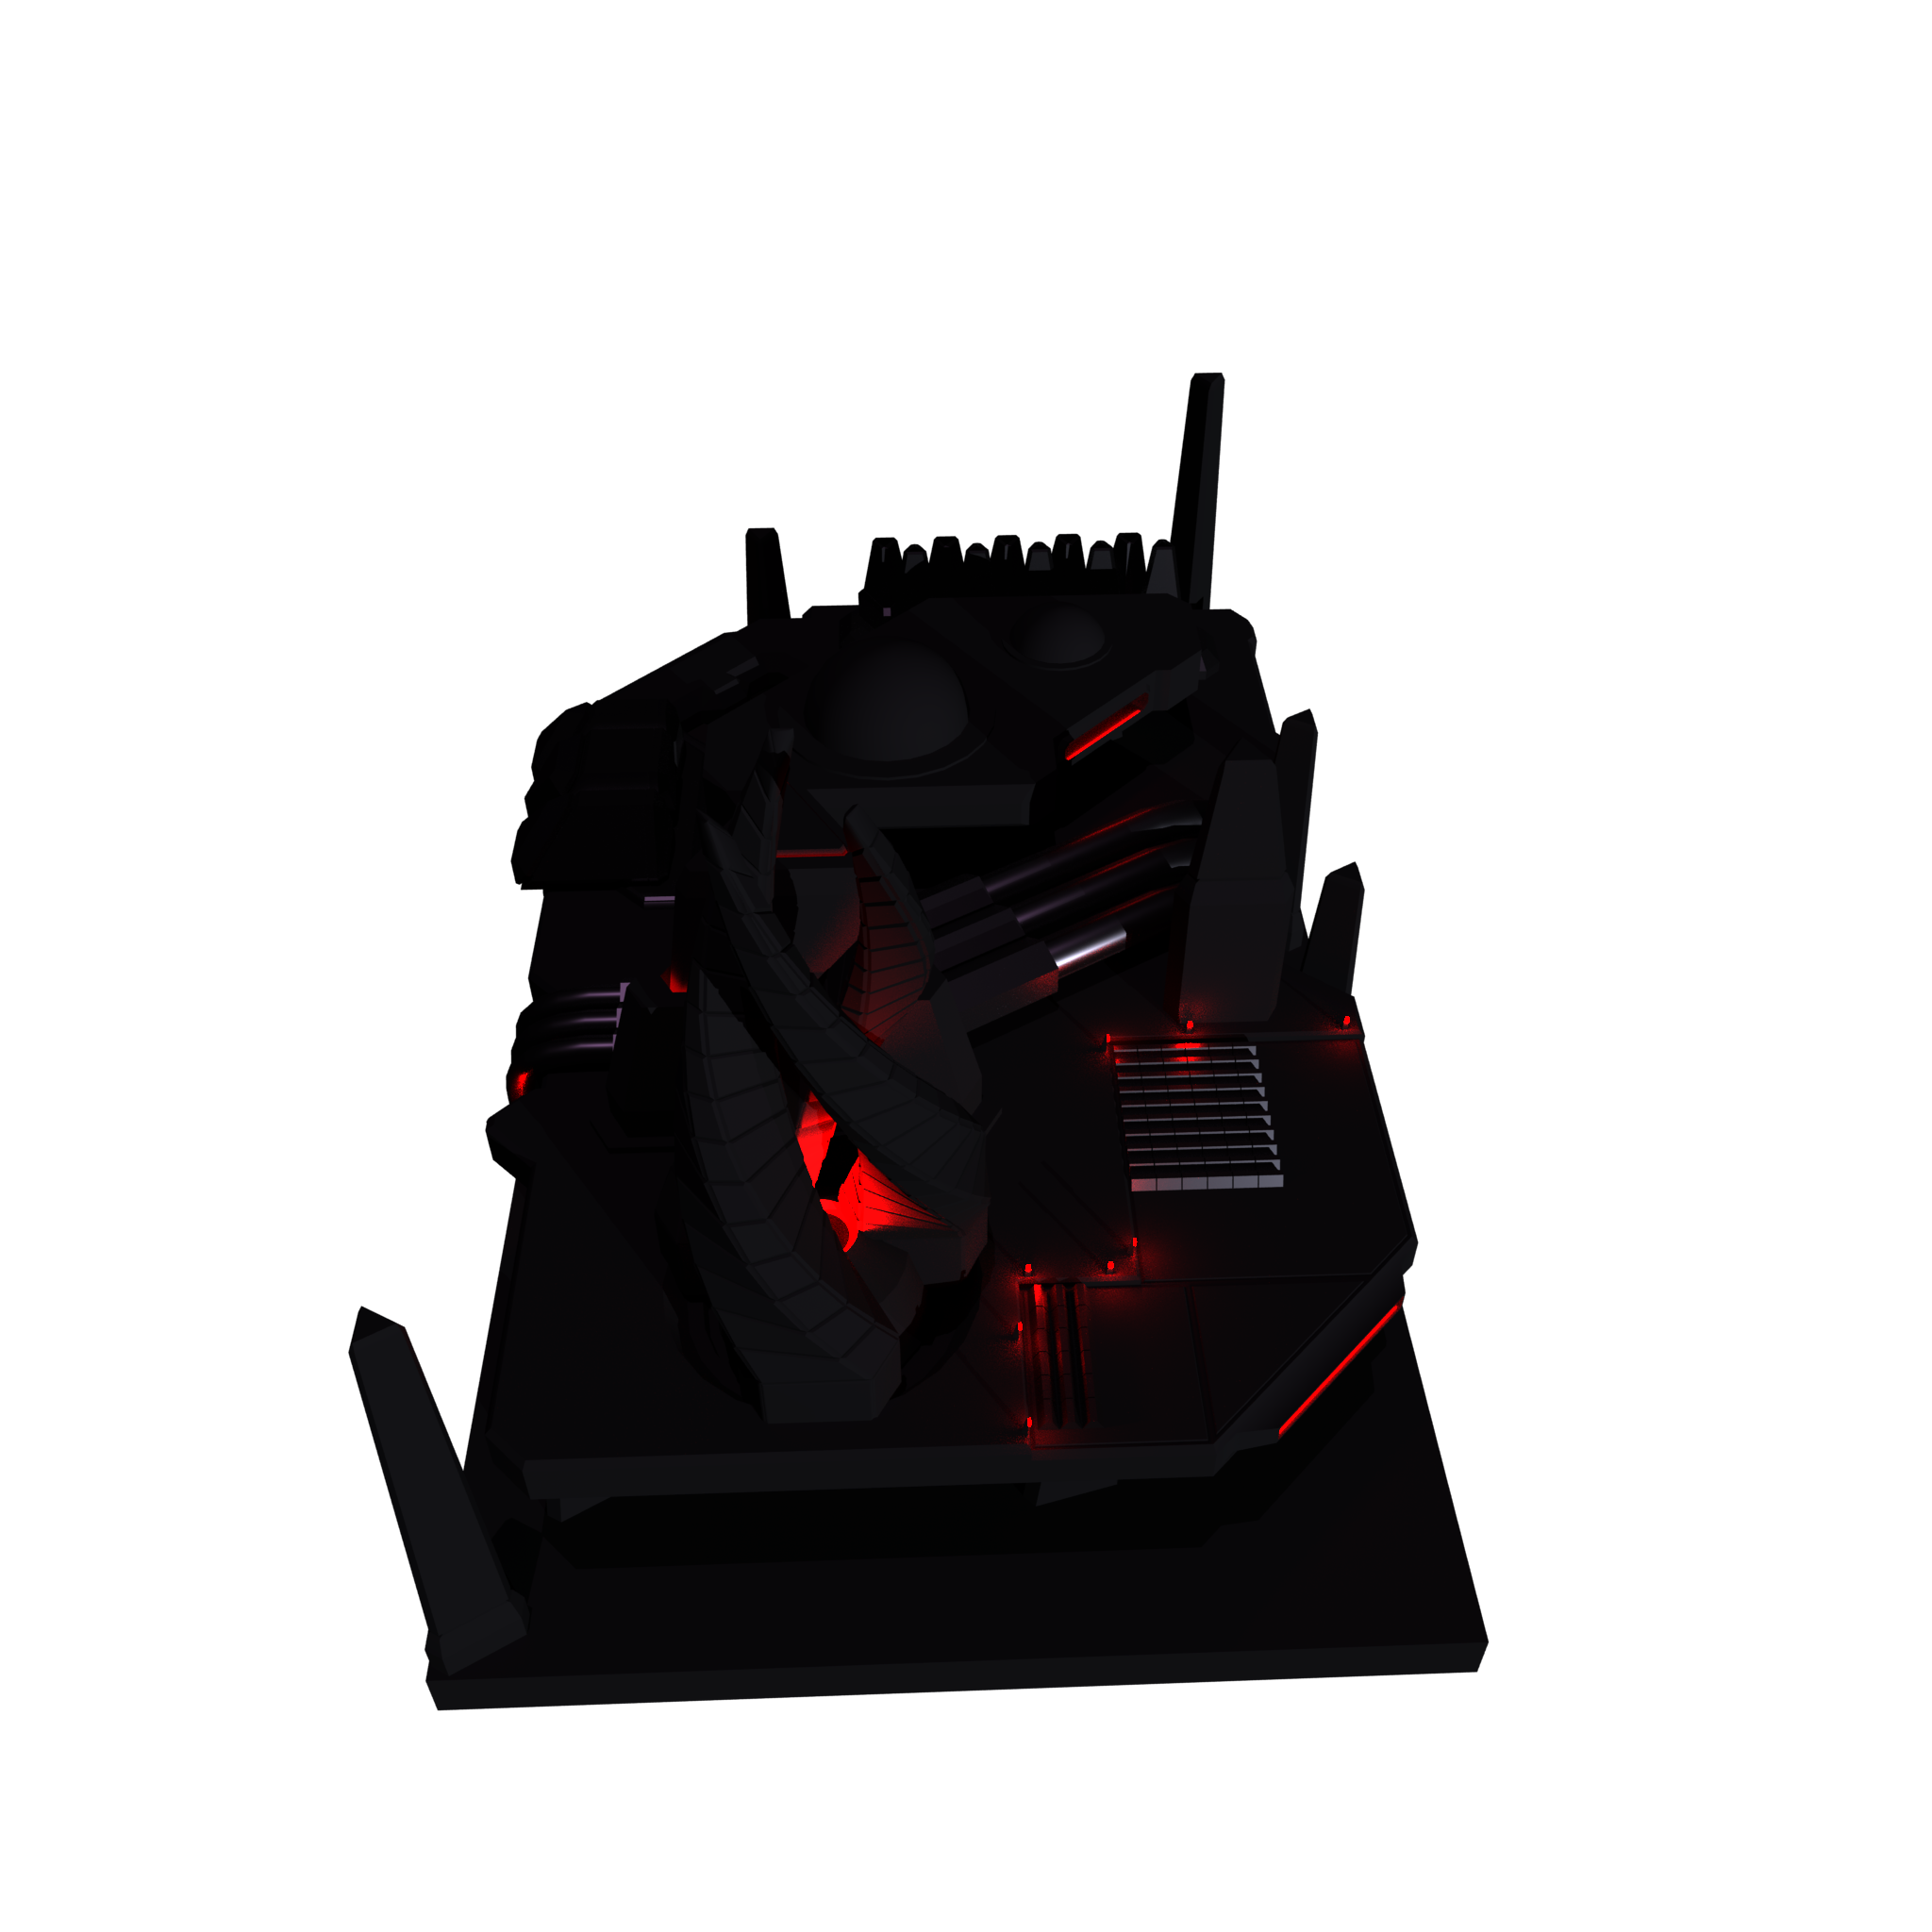
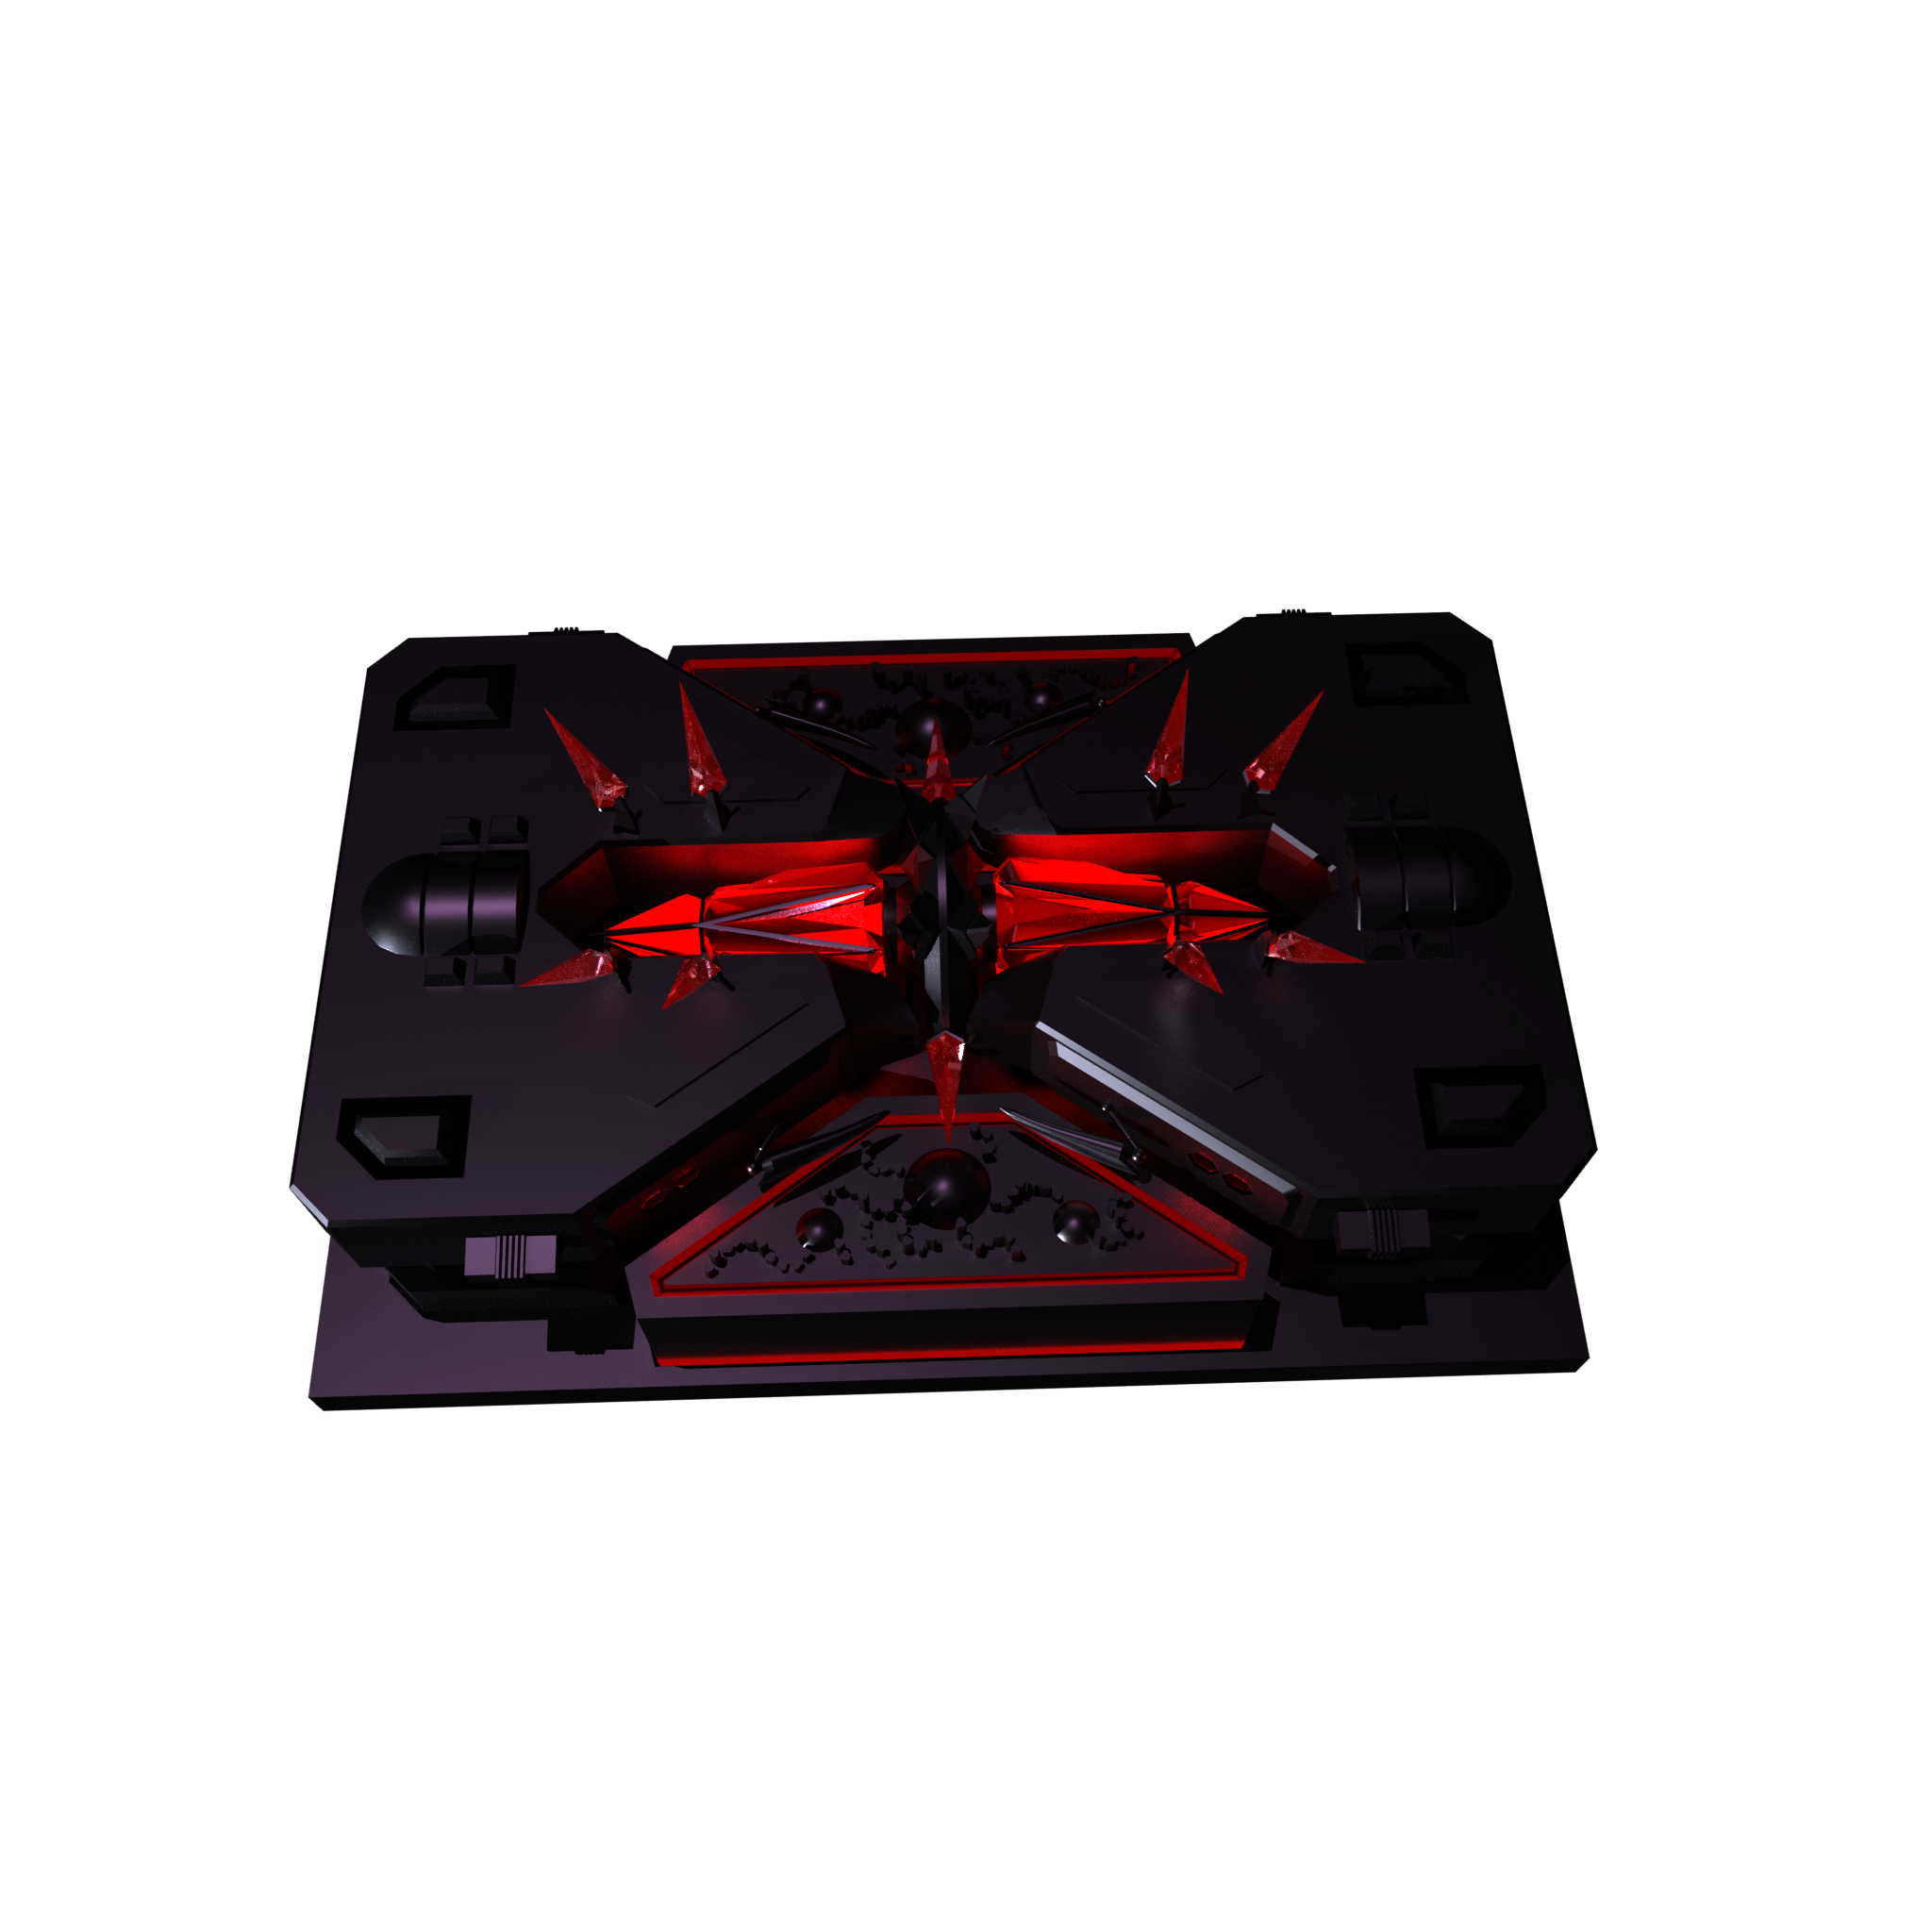
Of the other November projects I worked a good deal on a pair of detail modules for the big Shivan worldship, meant to be an eldritch alien crystal and an industrial facility. Renders to be posted below – clicking should show nice big 2048 renders. These two objects also are their own tales of woe – they’re designed to be tiled out, but the method I was intending to use for duplicating this geometry across the worldship will not duplicate lights – so just like with the fighter, these will need to be unwrapped (at least somewhat) and textured to get the sparkling lights visible.

The objective with these modules is to use a common rectangular baseplate that will tile nicely and provide a variety of recognizable and alien shapes and lights. I have planned a few more variants – shipyards and major docking bays and residential modules. Due to the sheer size of the worldship, it’d also be good if the geometry was compelling enough to be a setpiece for a level, so that’s another reason to ensure that they’re interesting to look at.

Categories
November 2020

Day 13

I was told last week I needed to embed more screenshots into my blog posts. Today we’ll start with the Shivan Fighter I mentioned earlier in the week – it’s really come along. Click the screenshot below for a link to a p3d model of the ship:

Careful viewers will note a small seam present in the transition between the arms and the ridged section behind them, that’s already been fixed in the model as it stands. The conical objects linked to the lower hull are supposed to be anti-ship missiles, a cute little five-fold symmetrical model built out of an icosahedron.

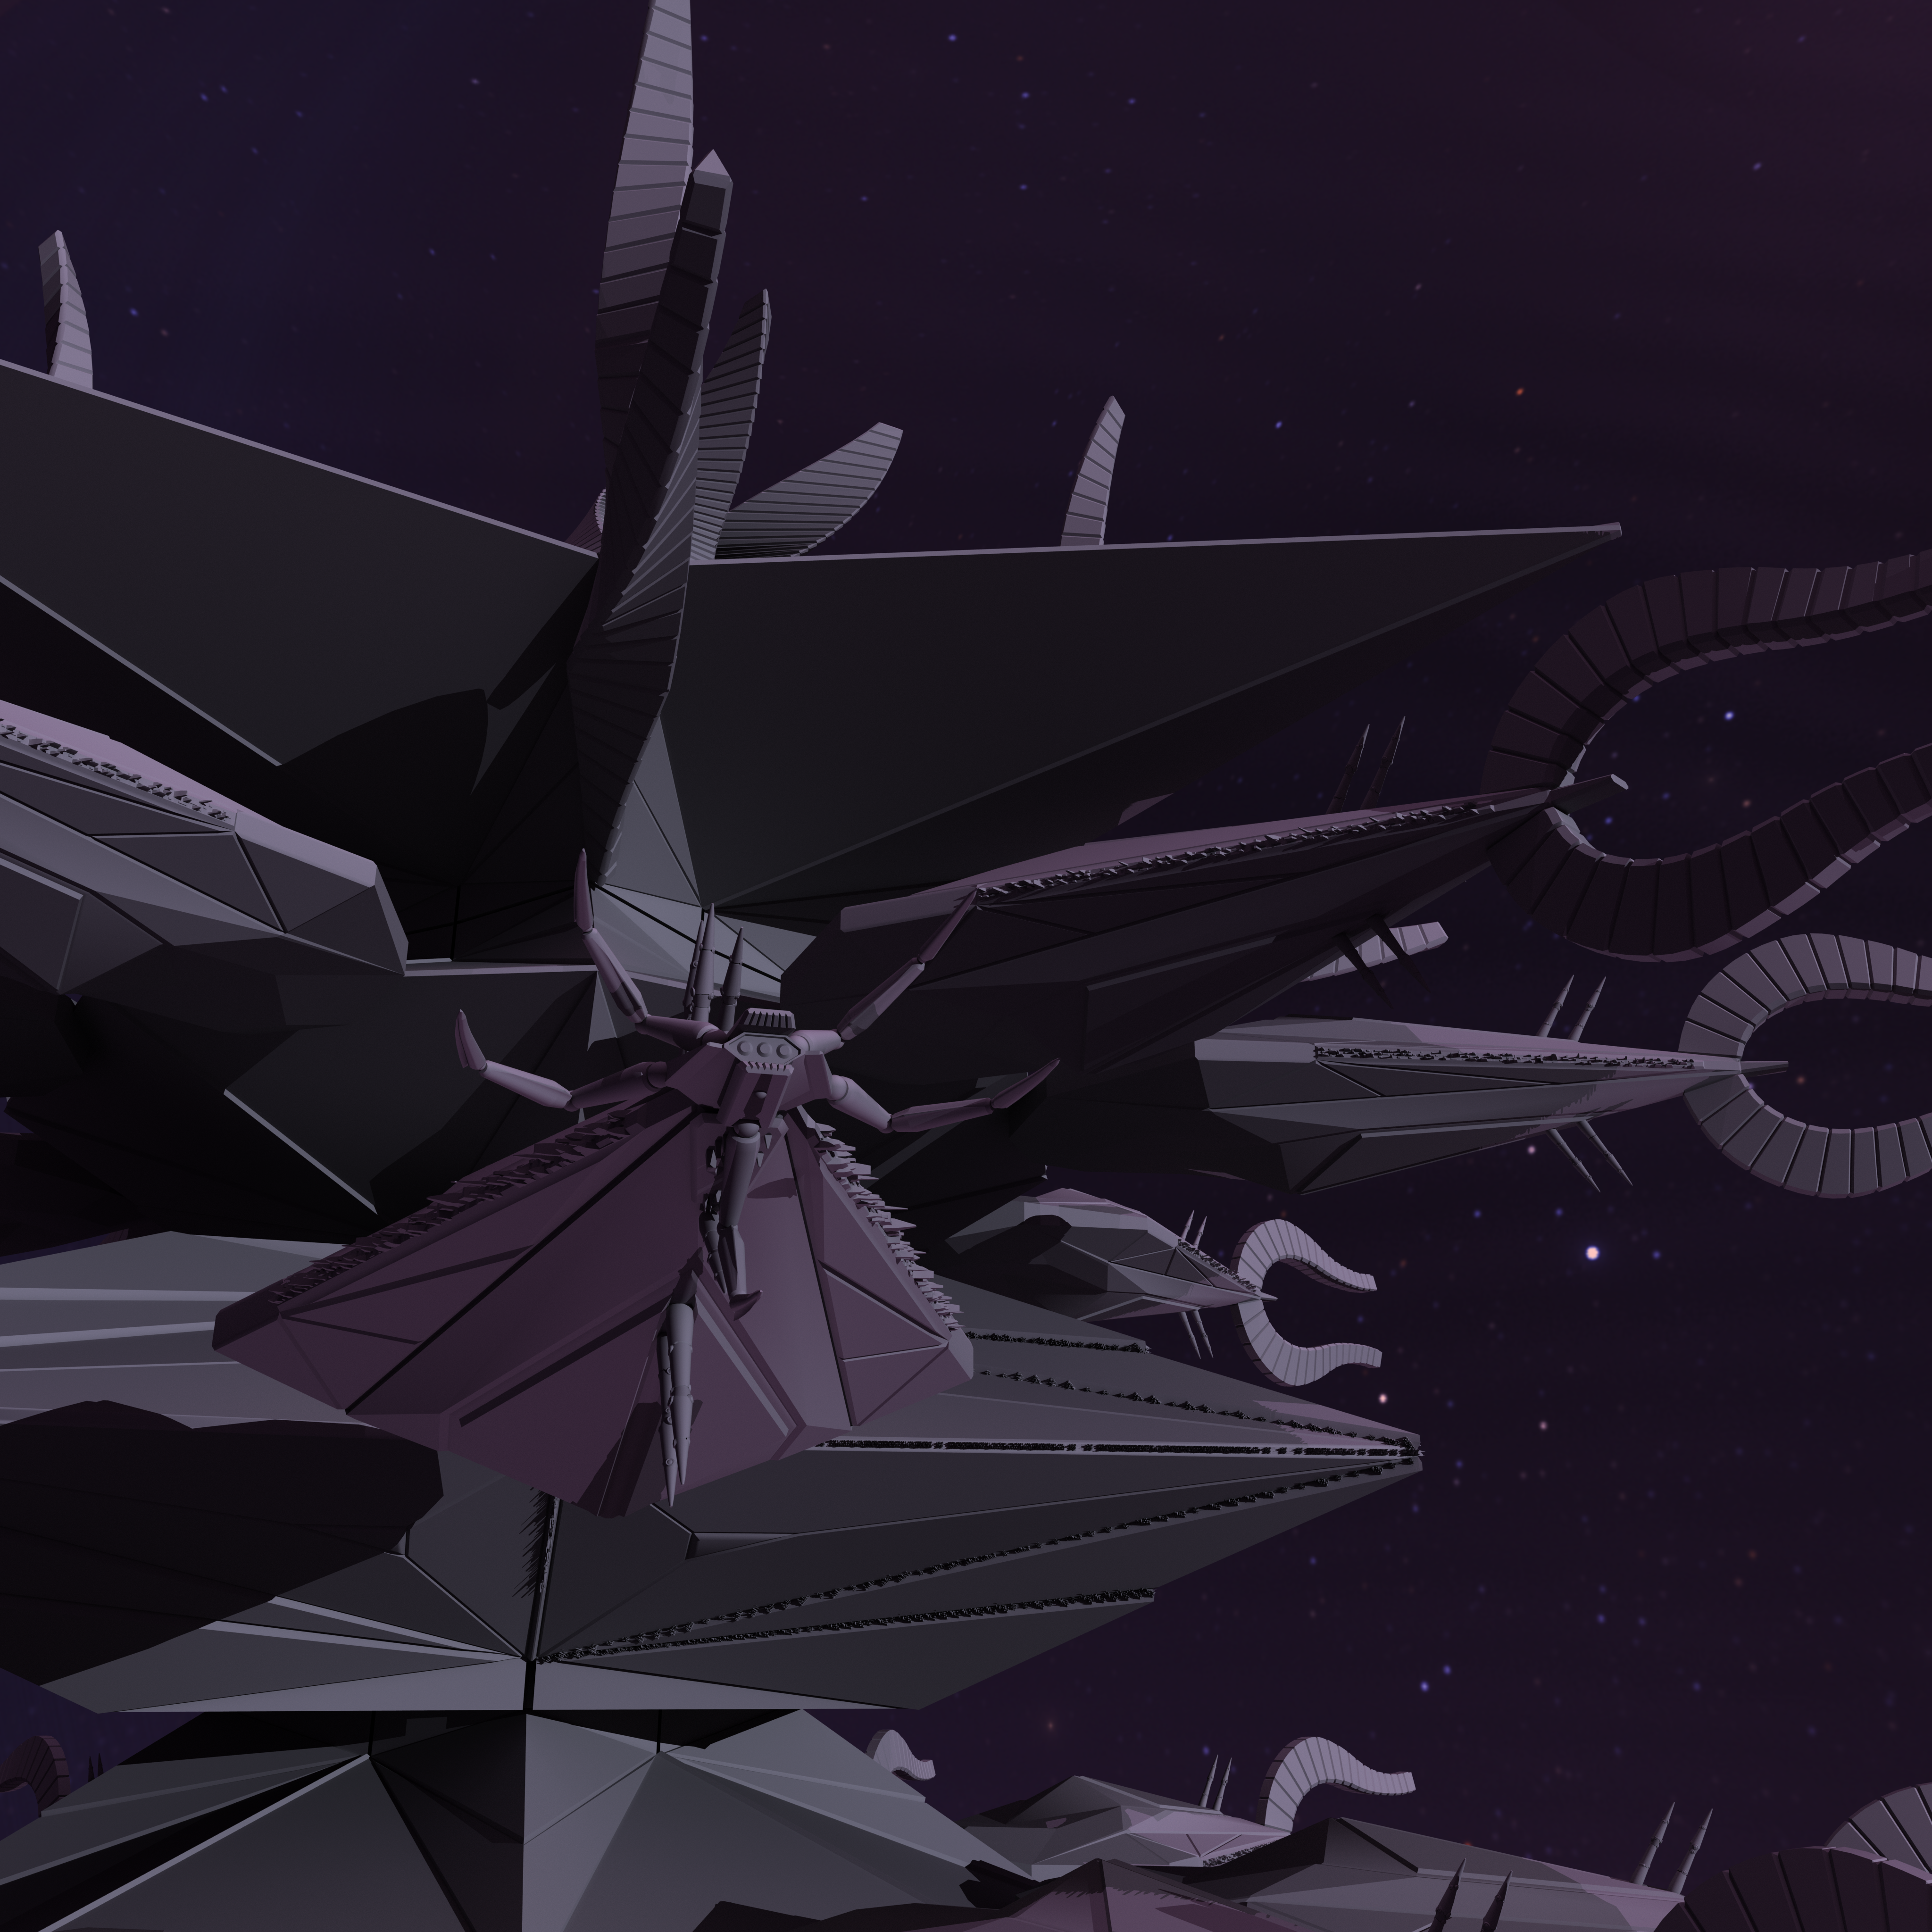
I also worked up an alternate leaf arm for the Shivan Worldship. This one has five limbs based on the SJ Sathanas. There’s no p3d of the worldship available as it really hasn’t gone too much further from the last p3d, but here is a nice 4k render with a lighting setup. The skybox was created in SpaceEngine Pro with three directional lights setup like various other stars in the scene. Here’s a few low res renders using Maya’s raytracing within the program. You can click for links to higher res versions of the images:

And now an ultra high res render I put together that I am quite happy with. Same as before, this is a clickable link – be sure to zoom in!

Categories
November 2020

Day 12 – It’s been a bit

11/9/2020 – Well the last few weeks have been pretty quiet here – the short version is that I ended up being ever so slightly distracted with planning a rather sudden and welcome marriage. With a little luck that’ll be the longest gap we have here.

Diving into current projects: I left off last time having completed the intro to Maya 2019 module on the Gnomon Workshop. After that I was seized by a powerful need to try and make a variety of projects and have settled on two projects I want to try and take to the finish line this month with occasional smaller projects like the Taiidani fighter as interim projects for practice – such as this little fighter here on p3d inspired by the Shivans from Freespace.

The first project is something that I’ve made several attempts at before – a medium sized spaceship from Homeworld called an Ion Cannon Frigate. This design is something that’s been through a large number of concept sketches over the years, and the ship itself was partially modeled a number of times in Wings3d before I imported it into Maya. I intend to rebuild what I’ve got so far and expand it to a higher quality level.

The second project is something I’ve thought about vaguely for a while and is rather more ambitious – a gigantic spaceship akin to Star Wars’s Death Star. This is meant to be for the Shivan faction . The first draft is something I put together after a few hours of sculpting in an attempt to capture an organic feeling, and is visible here on p3d. You can see it was not an unqualified success – it developed some interesting shapes and certainly qualified as organic looking, in a ‘lump of putty’ kind of way. I may revisit aspects of this at some point but for now it’s by the wayside.

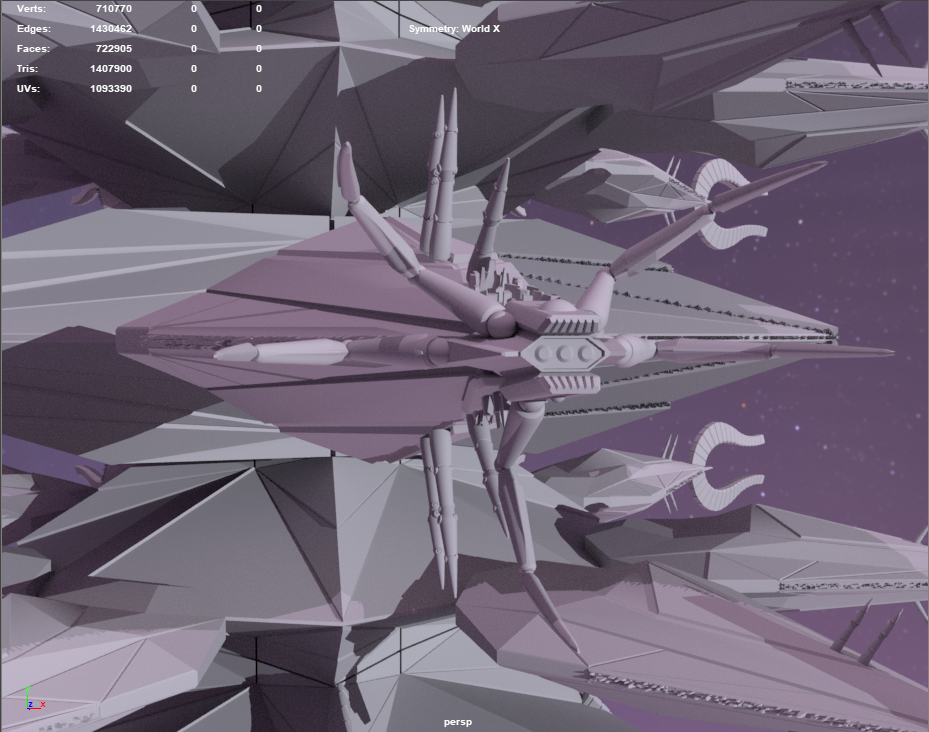
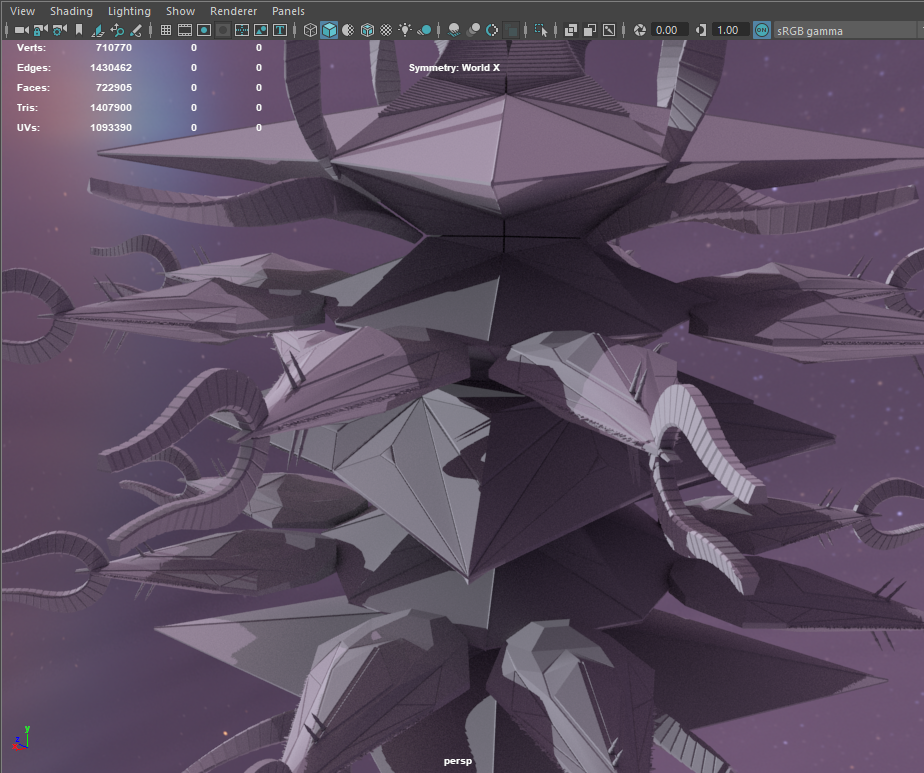
I’m currently working on a second draft that’s already been an amazing experience in applying a lot of the lessons learned from that intro to Maya. This draft is heavily inspired by some of the particularly large ships from the Macross OVA. You can view this second draft here on p3d. It’s supposed to look a bit like a weird eldritch version of the crystalline entity from Star Trek with demon horns, if you’re wondering. I’ve chosen the initial viewing angle quite deliberately to showcase some of the cityscapes I’ve been modeling. What you will quickly note is that there’s rather a lot of cityscape in trenches along the edges of the smaller ‘leaf’ appendages as well as in one part of the main body here. I placed the cityscape by hand on the edges of the ‘leaf’ appendages, and used a MASH network to scatter a variety of different meshes on the main body. There’s still a lot to fix in the main body cityscapes – if you zoom in you’ll see they’re rotated rather awkwardly at times except for the flat perimeter. That’s because Maya can only use the normal of a face to pick an appropriate orientation for one of these randomly scattered meshes. The top and bottom of each of those channels are significantly different in length meaning I can’t just make 100 subdivisions and connect them to have a hundred evenly sized and spaced cells to put those cityscape meshes in.

The horseshoe shaped arms are also not going to stay – the next steps there are going to be creating a second type of ‘leaf’ limb and alternating them on the two layers to make a more diverse experience. Another possibility might be making a smaller tertiary ‘leaf’ limb and alternating them with the bigger ones so there’s more diversity of shape.

Other goals include adding in piping and tubes – similar to the SD Ravana’s odd piping – using curves, and eventually scattering around a bit of rocky surface texturing on the main body. Keeping the thing below like five million verts is something I’ve not yet figured out how to do.

Categories
October 2020

Day 11

10/22/2020: The first video today covered the creation of grass for the house scene that is the subject for this Maya tutorial and I couldn’t wait to dive in and start experimenting with what it introduced. This video introduced two features – one, “Paint Effects” which are paintbrush like mesh generation tools that was used to paint simple (but convincing) grass. The other, which immediately got me experiment, was instancing with MASH. To aggressively oversimplify, MASH was used to scatter arbitrary geometry across an arbitrary surface. The tutorial used the paint effect brush to make a patch of grass, then used MASH to scatter that patch of grass and randomly rotate it across a “lawn” surface. With just basic materials and the Maya ray tracing renderer (named “Arnold” for some reason) it was trivial to make a pretty convincing looking lawn. It was also an impressive test of Maya’s rendering capabilities, because it handled me rotating a scene with comfortably over ten million verts in it without any kind of trouble at all. The raytracing certainly chugged on it, but I digress.

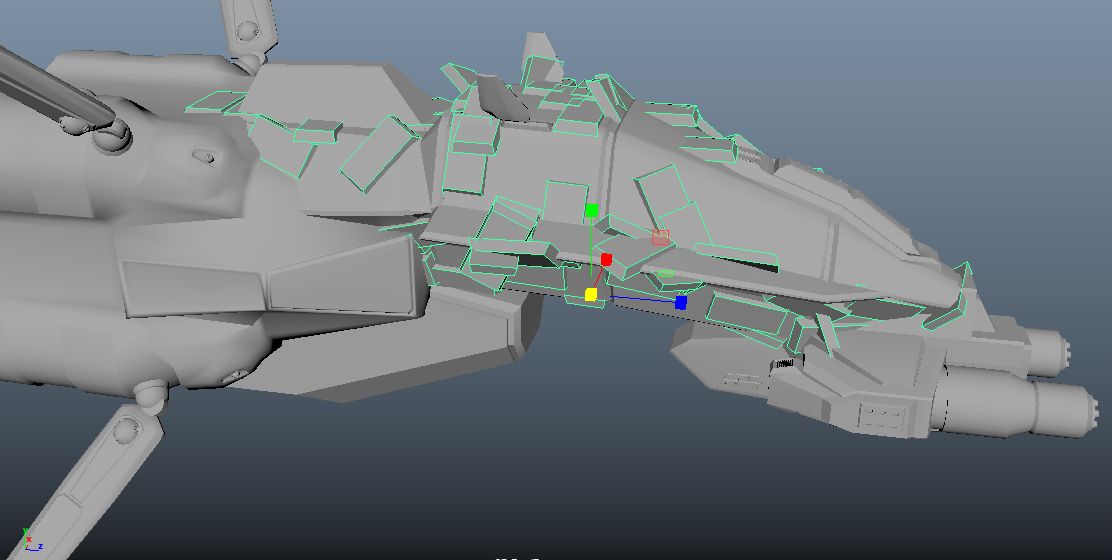
The first thought was, as has been an unofficial theme of these first two months – greebles. So I fired up my little Taiidani scout-like sketch, made a real simple panel, and started trying to scatter that across the geometry using MASH like I’d just been shown. This definitely showed some strengths and weaknesses of just slapping MASH onto some complicated geometry. When using a mesh as input, you have a couple of different distribution types across that mesh. “Scatter” was what we used for a lawn and for a lawn it works great. For the more complicated shape I’ve defined for the fighter’s fuselage there’s quickly issues apparent: MASH has no way of knowing what’s an appropriate place to put a fairly large chunk of detail on (see below):
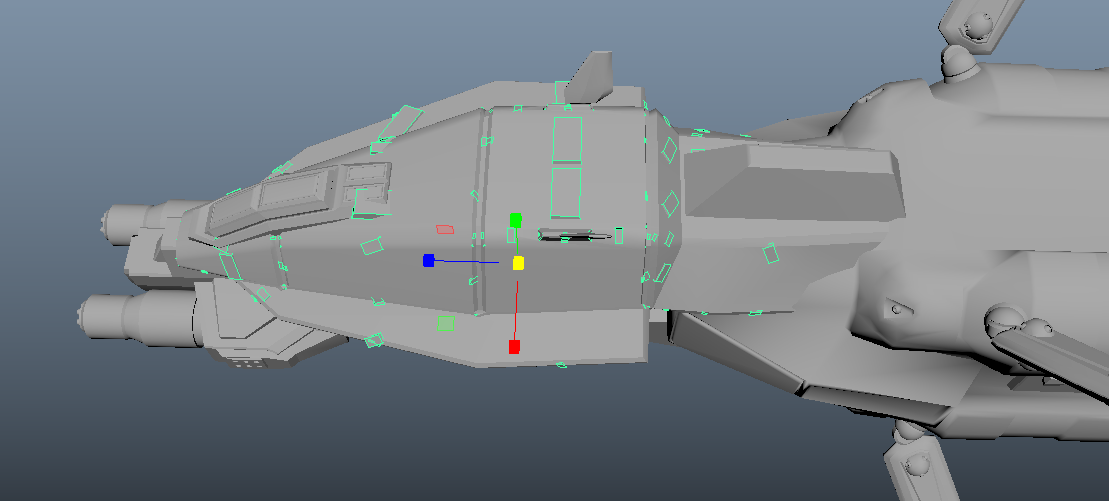
The geometry can be distributed to a random face’s center and then scale the tiled geometry to the face, but that encounters a few more issues: namely I’ve bevelled a lot of panels into the fuselage already. There’s a few that look pretty good but a lot that does not look good (see below):
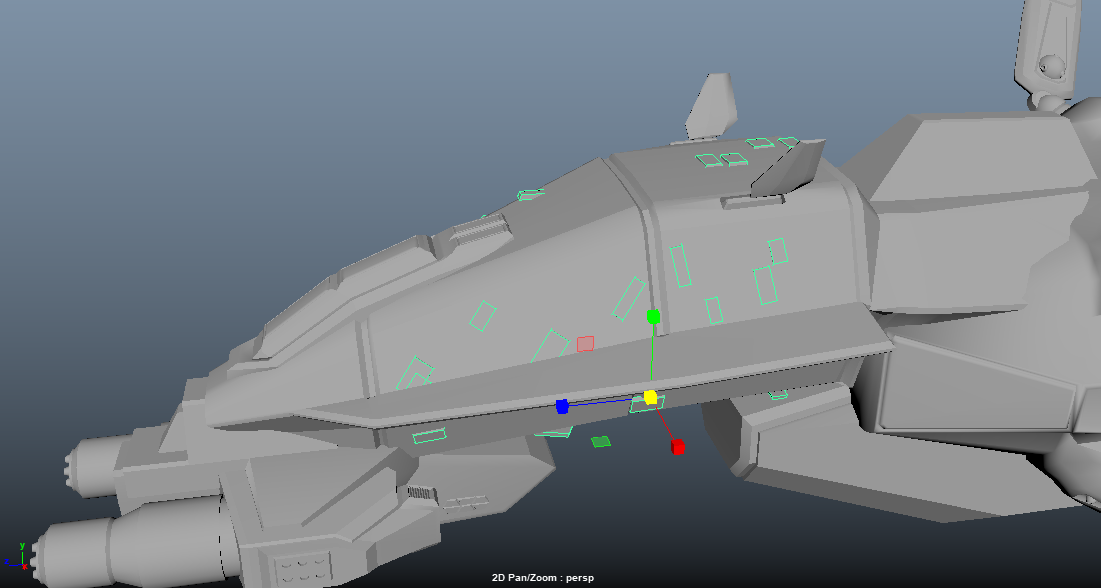
Creating geometry that serves as a mask works a bit better – here I extracted the largest faces in the second and third sections of the fuselage and used that as my target mesh to scatter panels across. I also used a MASH random node to introduce some random scaling differences. On a few of the panels it looks pretty good still but there’s no way to avoid the awkward diagonal panels. The most obvious use case I can think of is something like a Star Destroyer which has enormous flat panels without the more complex geometry of a Homeworld style spaceship. Another obvious use case is in building detail panels that can then be more meticulously placed into the model (see below):
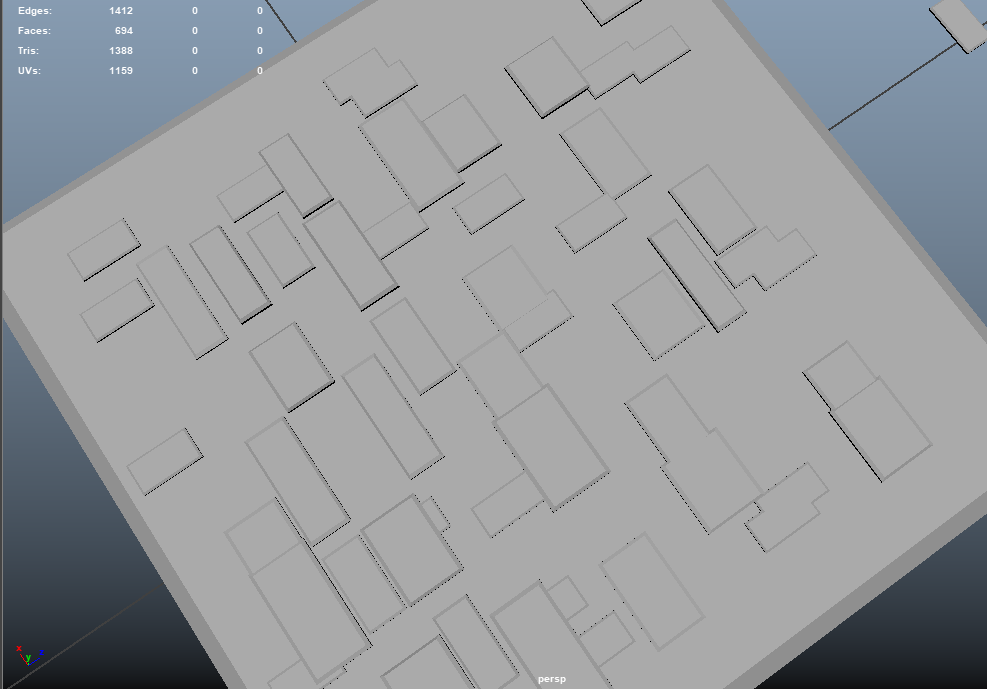
This panel took a lot longer to make than I’d like to admit. The goal was to try to get something that was crusty with some natural feeling gaps, very much Star Destroyer tiling style. Some overlap is visible which is not a great look, and there’s two different MASH networks – one with the vertically extended panels and one with the horizontally extended panels as the MASH random function doesn’t seem to be able to have stairstepped rotation (so randomly choose rotations at 90 degree increments does not appear possible at this time). It’s still looking like handbuilding more complicated detail pieces is going to be required – I made a really fun little vent that looks awful scattered over this area (see below):
Another outcome that surprised me was that the MASH network outputs geometry, but that geometry tends to cause Maya’s boolean tool to crash. I’d wanted to try and create snakey intrusions on a panel but that didn’t work out even with plenty of subdivisions.

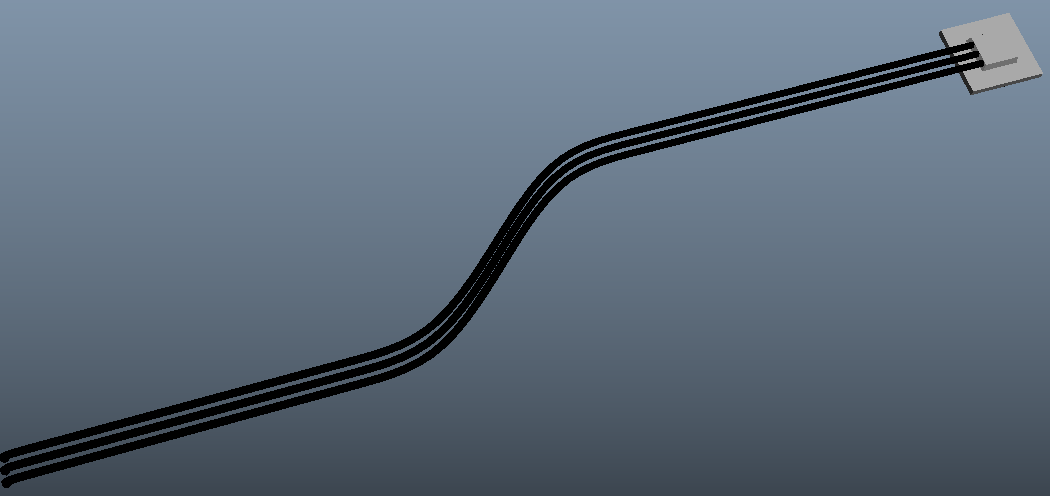
From the other videos an offhand comment intrigued me greatly: “I like to attach paint effects strokes to curves and then convert the strokes to polygons as a way to quickly create cables and wires and stuff.” After following along I tried my hand at a quick HW style three-pipes detail object with gratifying results after ~30 minutes. Most of it was trying to get perfectly straight tubes except for the turns:
And that concluded the Eric Keller intro to Maya 2019 series. I’ll have to figure out for sure what my next project will be to try and use all of the lessons in this tutorial. One option is to create a (probably simpler) house with various bits of lawn ornamentation and lit accordingly. Another option is to pursue existing projects – either a Homeworld frigate or perhaps a Freespace fighter. I’ve got a tutorial lined up for a robot character so I may hold off on the giant robot until then.
Categories
October 2020

Day 10

10/21/2020: Study today and the last few days have been heavily focused on learning materials, lighting, and animation within Maya. These are all enormous and critical features that – while very interesting – are secondary to my main goal of getting a lot better with the geometry. Here’s some notes on those three topics.

For UV mapping and materials, the most useful piece of information has been that for components that are definitely going to be used repeatedly throughout the mesh, UV mapping them and then duplicating them saves time in the long run. The example in the Intro to Maya 2019 tutorial was making the bolts holding a deck chair together. By UVing the first bolt, and then duplicating it out repeatedly, all instances of the bolt would have the same UV coordinates. You could spend an entire career getting deeper into Maya’s materials, which are incredibly powerful for rendering. Considering my short term goal is to really improve 3d modeling for importing into video game engines, it’s going to be useful to be able to get nice previews of normal maps and bump maps but they’re not critical.

Animation is definitely VERY exciting. Maya works with a timeline where objects’ transform (move, rotate, or scale) between different fixed keyframes. Maya lets you control the normals of the vectors between these points on the timeline (so you can have a stairstep immediate transition or a smooth curve or a direct line or shape it yourself). The most exciting feature here was that you can define multiple layers of animation that all apply to the object. These different layers can also be weighted and that weight itself can be changed overtime. The example in the tutorial was excellent – it was the animating of a weathervane turning in the wind. The bulk motion of the weathervane was handled in one layer of animations – swinging as the direction of the wind changes. A second layer of animation was defined for the weathervane shivering in the wind. The two were immediately and seamlessly overlaid so that even as the weathervane swung with the change in wind, it still oscillated a few fractions of a degree regularly with the wind blowing around it. That’s an incredibly powerful animation system and makes me think of thrust vectoring planes on spaceship engines as a possible application.

My hope for the next mini project is a robot character, an armored suit for a humanoid figure. That’s a hell of a lot further afield and more ambitious than the basic Taiidani fighter I was working on earlier this month, so we’ll see how it goes.

Categories
October 2020

Day Nine

10/15/2020: Today I got back into the tutorials and right at the end of the vidoe about the curve tool the instructor busts out that surfaces -> revolve lets you take a curve and spin it around an axis and produce either nurbs surfaces or polygons as output and that’s just awesome. Since Maya preserves construction history you can even manipulate the curve after executing the revolve command, basically like you were turning pottery on a wheel. So that’s pretty incredible already – I’d love to be able to do n-fold rotational symmetry but for now this will be extremely useful in creating any cylindrical object. The other topic I was able to cover today was using deformers. Since deformers can themselves be deformed the exercise was to take a very static fish, curve its back and twist its tail.

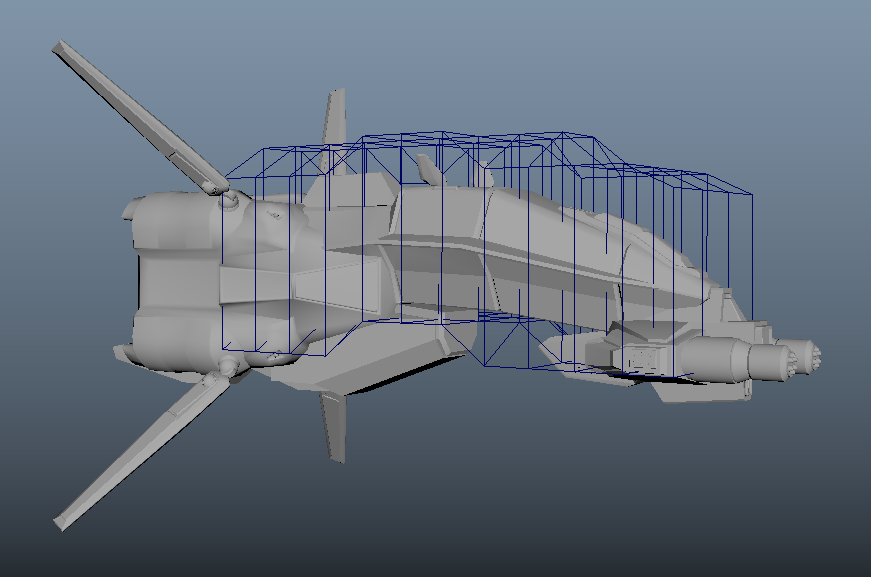
Inspired by that I went back to my Taiidani fighter model and in a few minutes, used the Lattice deformer to arch the back a bit more to get closer to the classic hull plan. No p3d at this time, just a screenshot for now:

The grid outline around the main body is the Lattice deformer, which lets you selectively deform the geometry within. Each of the vertices in that lattice can be moved to change the deformation. So here it was a pretty easy task to pitch the nose down slightly and bring the centerline up without messing around with soft select or moving any faces. Pretty neat stuff.

Categories
Complete Projects October 2020

Taiidan Fighter Complete

10/13/2020: So after a little over one week of working at it I think the wise thing to do is call the fighter complete. Instead of screenshots, here is a p3d.in link that should allow you to view the fighter at your own discretion: https://p3d.in/NFFjG

In retrospective, there was a lot to learn throughout the project – at first it was getting used to smoothly transitioning my camera from perspective to the various x/y/z axis cameras at my own volition instead of following along with the tutorials. Then it was experimenting with instanced geometry. Maya knows how to render that properly, but p3d sure doesn’t so I had to Modify – Convert – Instance to Object and then shuffle geometry around a bit before exporting.

Instancing geometry was definitely exciting when it came to details like the gun clusters and the nozzles in the thruster block, but led to unusual behavior when attempting to mirror or duplicate objects. The last, and best looking, piece of the fighter that I worked on was the four big winglets with their rotating bases. Instead of selecting the grouped base + winglet within the outliner, I mirrored each piece of geometry separately and rebuilt the heirarchy in the outliner. Moving things along normals and adjusting fine details on the surface is definitely possible within Maya but instead of needing to painstakingly define each normal, there’s a lot of slide commands and options to constrain movement along faces. Starting with a more complicated hull plan and then evolving from there would have been wise as right now the fighter doesn’t have the beautiful arched back of the Taiidani scout.

In order to ensure that this sketch of a fighter was original, I purposefully avoided consulting any concept art from the original games and instead wanted to make something Taiidani from memory. This helped the fighter feel a bit more original. I think the gun cluster came out fantastically, as did the four large wings, and I love the midsection. This also meant that I wasn’t working off of any kind of sketch or reference and just doing pure geometry work. It’s come out as a sort of hybrid interceptor-scout right now, but I love the character the two little winglets on the fuselage add. Weak points are the cockpit and the fuselage.

There’s still probably two weeks of work left detailing the thing and then of course texturing but I’m going to declare this done for now and return to taking lecture notes. I think a week of tutorials and a week of homework projects should be a pretty good rhythm. See you round, and I’m going to go play some Homeworld.